


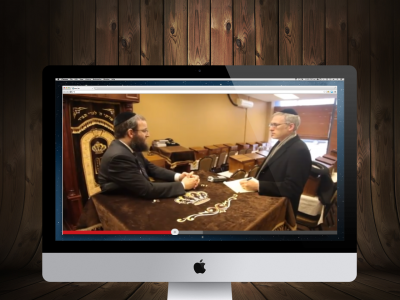
You see interviews on your local newscast, on documentaries, instructional videos, morning talk shows, reality shows, even on YouTube. Interviews are shot every day and there are countless styles and looks. There are interviews that look beautiful, average, acceptable and shoddy.
As a rabbi and communal leadr there are times that you will be called upon to take a stand, represent the local Jewish community or sit for an interview for your latest banquet video. Following are eight tips you should practice to make sure your next interview looks as good as possible.
1 – Do Your Pre-Production Homework
When you get the call from your client (or independent producer) discuss the following items to ensure the shoot goes smoothly:

- Find out where the interview is taking place. This will allow you to determine drive time on the shoot date.
- Discuss what time you can expect the person being interviewed is arriving.
- If there are multiple interviews, are they all in the same location?
- Will there only be one person interviewed at a time, or multiple people talking at the same time?
- If you are not familiar with the office you are shooting in, ask the client to snap a photo on his phone so you can see the room in advance.
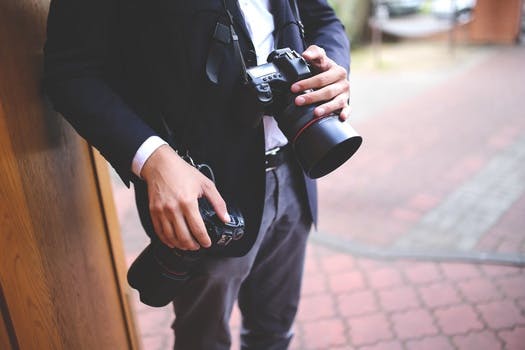
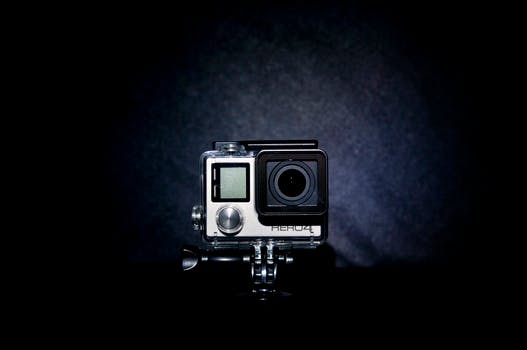
2 – Take the Right Gear on Your Shoot
Pack the following gear to assure your client (and your client’s client) are happy with the end result:
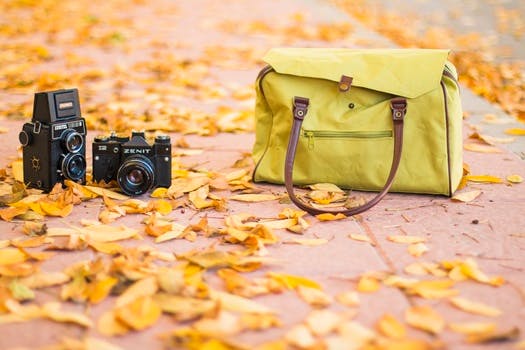
- A camera and batteries (or power supply)
- Recording media (tape/cards/discs)
- A good tripod
- 4 to 5 lights including a c-stand
- A monitor so client can approve your framing
- Two microphones (A lavaliere mic and a shotgun mic with boom-pole)
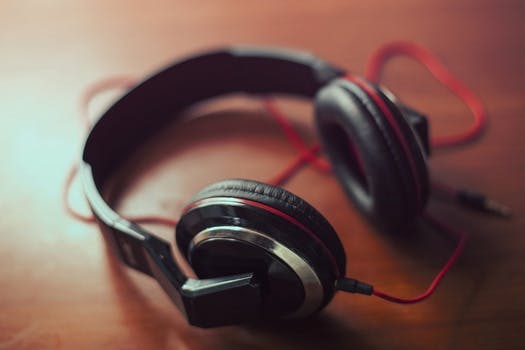
- Headphones
- Extensions cords
- Gaff Tape
- C-stand (if you have one)
3- Arrive early
There are any number of reasons to arrive early. If you are rushed setting up for the shoot then mistakes are more likely to happen.

Ask yourself the following questions when determining how early to arrive for a shoot:
- Do you have to sign in with a receptionist and get a name badge?
- Do you need an authorized employee to escort you through the building?
- Are you allowed to bring gear in through the lobby or do you then have to drive around to a loading dock.
- After you unload the gear, do you then have to go park your vehicle?
- Do you know where the room is located?
4 – Find the best location for your Interview
Once you get to the room where you interview is to take place, take a few moments to make sure the talent is seated in the best location. Where you seat your talent and what is seen in the background are vital to recording a beautiful shot.
- Don’t place your subject too close to a wall.
- Try and have the person far enough from the wall so you do not get harsh, unpleasant shadows falling on a wall.
- Place your subject in a chair that does not swivel.
- Don’t place your subject in a jungle. Many times people will put plants behind a subject. This works if plants are far enough in the background that the person doesn’t appear to be in a jungle.
- If you have a plant strategically placed off to one side of the subject, located several feet behind the person, makes sure that there are no plant limbs sticking out out of your person’s head.
- If there is a lamp in the background ensure the bulb is not too bright. If possible, plug the lamp into a dimmer so you can adjust the intensity .
5 – Adhere to Key Lighting Practices
Actually, before you set up the lights, you should set up the camera and monitor so you can see what the shot will look like as you light the room.
- Set the interviewee’s chair in place (non-swivel chair).
- Determine which side of the camera your interviewer will be seated.
- Set up your key light, determining if you want a slight shadow or accentuated shadow will define where the key light is placed.
- Set your fill light, or shiny reflection board, on the opposite side of the camera from the key light.
- Place the back light, if you determine the need for a back light, approximately 180 degrees from the key light.
- Using a c-stand for the back light might allow you to place the subject’s back light in a better position.
- If you use a c-stand, place a sand bag on the stand’s leg so it does not fall over.
- Determine if you need to put an accent light on any items in the background.
- (Search for my article on “How to Simply and Affordably Light Your Subject” for a more detailed explanation of lighting tips.)
6 – Listen for Great Audio
I can set up a beautiful shot but if the audio is bad then the client is unhappy and I might not get paid. If my budget allows, I prefer to use a two-person crew. Setting up for the shoot goes more quickly and while I’m operating the camera my assistant can monitor my audio feed.
- Run your lavalier mic to the talent position and plug into channel one on your camera. Wether it’s a hard-wired mic or wireless lav, ensure it sounds good.
- Now set up the shotgun mic on your boom-pole and run that audio to your second mic channel on the camera.
- Have your producer or grip sit in interviewee’s chair.
- Shotgun mic should be positioned slightly in front of the person and about 5 inches above the talent’s head.
- Place the lavalier mic on his tie or lapel then hide the mic cable.
- Monitor sound with your headphones.
Why the insistence on two microphones?
Well, when operating as a one-person crew there are a lot of details to pay attention to (framing of the shot, lighting levels, background items, and audio levels) and the second mic is a nice safety valve. By having two mic sources, the boom mic can cover you in case the lav mic picks up scratching noise on the person’s clothing.
And I can’t even begin to count the number of times a person who talks with his hands gave a passionate comment and popped his hand on the lavalier.
7 -Learn How to Use you Manual Iris
This step is actually more important than having a good light kit.
A properly exposed shot is a key step in capturing a beautiful shot.
- Learn how to switch your camera iris control between automatic and manual.
- In automatic control, the camera looks at the entire picture and determines the iris setting.
- If you have bright objects in the background, and run automatic iris, then the iris is going to adjust to that bright object and clamp down the iris and the subject will appear dark or under lit.
- By switching to manual control, you can overcome any bright objects in the background. You can then open the iris so your subject is properly exposed.
8 – Be Ready to Record
Above all else, be prepared as possible before the person being interviewed walks into the room. Once your guest walks in for his/her interview you are expected to be professional and ready to roll.
- Get your producer to sit in the chair so you can double check the lighting and microphones before your subject arrives.
- Do a test record and play it back for the producer so he can watch it on the monitor you brought to the shoot.
- Tape down any mic cables or extension cords that might cause the subject or client to trip.
- After your guest is seated and the two microphones are properly placed, hit record on your camera. Ask the person to say and spell his name and title. This will allow you to set the mic level on channels 1 and channel 2 for his voice.
- Also, recording the person’s name and title will ensure you correctly title the person when editing the video.
- Give a nod to the producer that you are recording and pay attention to the small stuff during the interview (background, light levels, audio levels, extraneous noises or sounds).
Best of luck and happy shooting!
About the Author
Steve Behrends runs St. Louis based Video Solutions, Inc. Having worked with companies like ESPN, Anheuser Busch, NBC Sports Network, Fox Sports Network, and Microsoft, Steve brings 30 years of video production and editing experience to the table. You can connect with Steve on Google+.